
Map Tier List
This tier list is constructed by analyzing each map’s design, the strategic opportunities it presents, and its popularity among the community. Factors such as size, obstacle placement, and hiding spots play crucial roles in this evaluation. Whether you prefer a direct confrontation or a strategic play, this guide will help you pick the perfect map for your playstyle.
Map Breakdown by Game Mode
Gem Grab
S-Tier
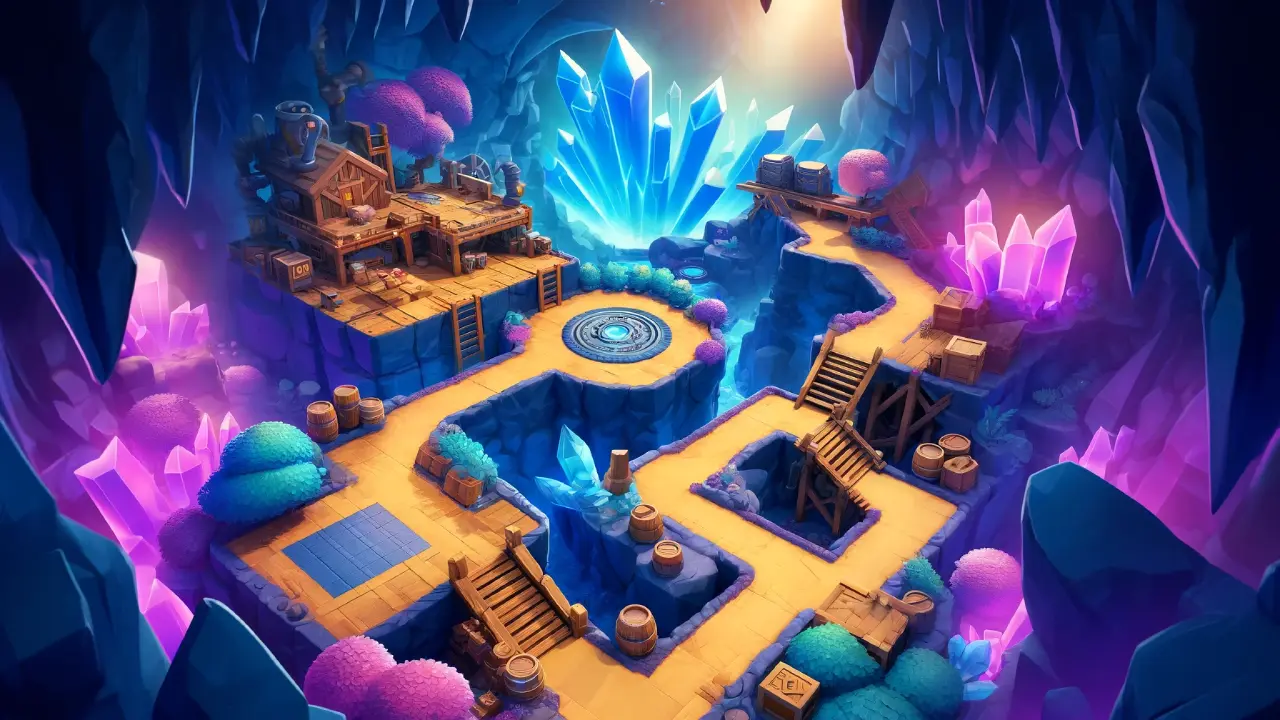
- Hard Rock Mine: Known for its balanced layout and central gem mine location, it supports various strategies, making it a favorite for both aggressive and defensive play.
A-Tier
- Crystal Arcade: Offers numerous cover options and strategic points, perfect for teams that excel in area control.
B-Tier
- Deathcap Trap: Narrow passages and limited space make this map a challenge, suitable for experienced players who can handle close-range combat.
Showdown
S-Tier
- Skull Creek: The abundance of bushes and barriers makes this map a hotspot for ambushes and thrilling gameplay.
A-Tier
- Feast or Famine: Centered around a risky middle area with high rewards, this map requires daring plays and strategic risk-taking.
B-Tier
- Thousand Lakes: Its open spaces and scattered lakes demand precise movement and good aim, providing a balanced challenge for snipers and agile Brawlers.
Brawl Ball
S-Tier
- Backyard Bowl: Wide open spaces and clear paths to the goals make this map a classic, favoring a mix of Brawlers and strategies.
A-Tier
- Pinhole Punt: Offers a straightforward layout with a few obstacles, ideal for fast-paced and high-scoring games.
B-Tier
- Sneaky Fields: The grassy areas provide hiding spots that favor sneaky, surprise attacks, challenging players to stay on their toes.
The map you choose can greatly impact your game in Brawl Stars. By understanding the tiers and characteristics of each map, you can better prepare for battles and strategize according to your team’s strengths. Always consider your Brawler selection and adapt your tactics to maximize your chances of success on any given map.